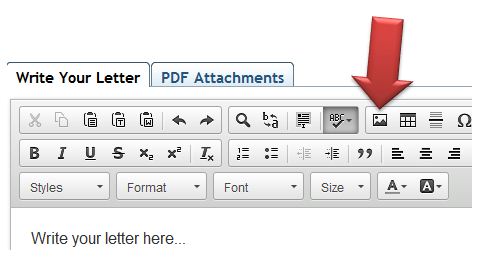
Click on the icon shown below
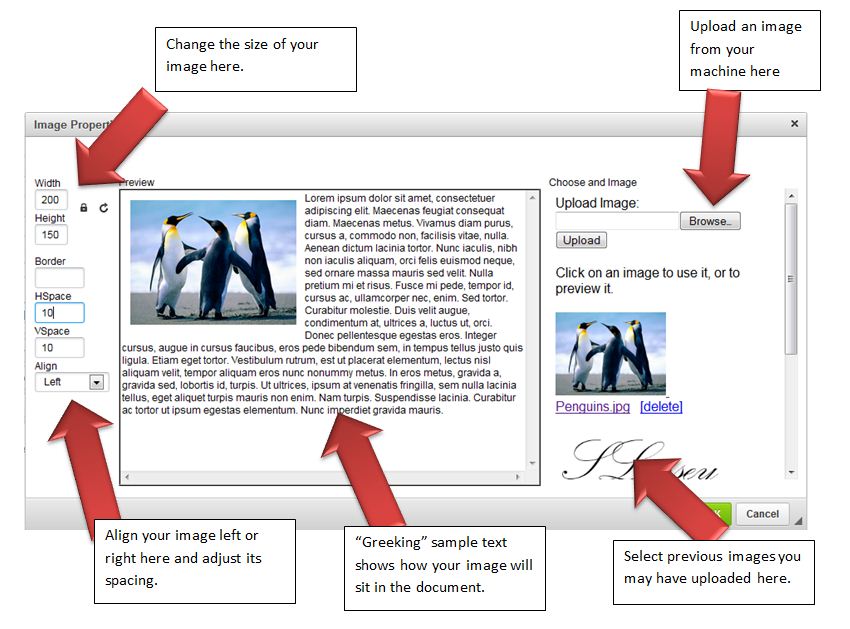
In the dialogue that appears you can choose to upload an image or to use a previous image you may have uploaded.
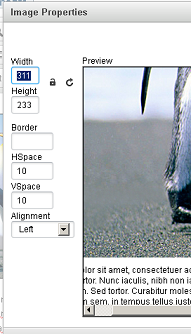
You also have the option to change the size of the image and how it is aligned in the text. Please note the site will automatically reduce the width of the image
if it is too large to fit onto the page. It is also important to use the preview button so you can see how your image will fit onto the page.
When you have chosen an image hit OK and the image will be inserted into your document.
Step 3Once your image is inserted you can resize the image by clicking on it and then on the image insert icon (as shown in step 1).
Step 4After you are happy with your image hit the Preview button (found at the very top or bottom of the page) to ensure it will print correctly
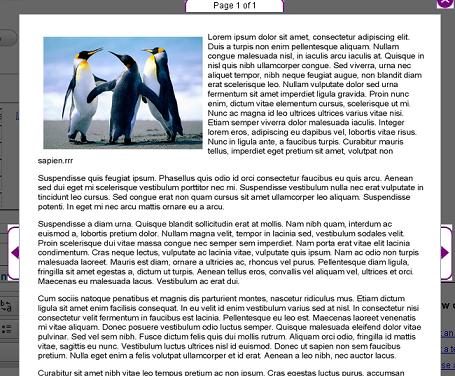
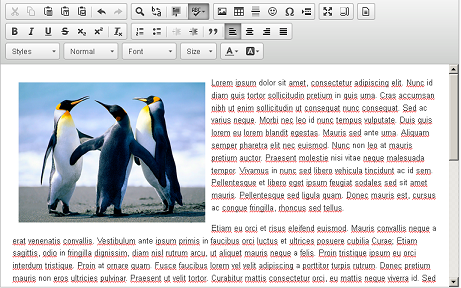
As you can see in the image below, we have reduced the size of the image and dragged it to the start of our text. In the example below you can see we have aligned the image to the left and
set a HSpace and VSpace of 10 pixels around the image to give it a margin. To get the dialogue box seen below select the image with the mouse and then click on the image icon button from the toolbar (as per step 1)